-
To add a hardware profile to the KINGSTAR Subsystem:
Click Start
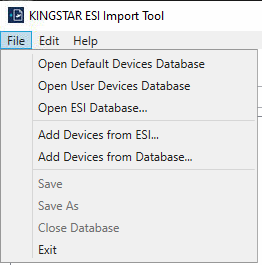
 > KINGSTAR Runtime > KINGSTAR ESI Import Tool to start KINGSTAR ESI Import Tool.
 -
Next, on the File menu, there are three ways to open an ESI database according to your needs:
-
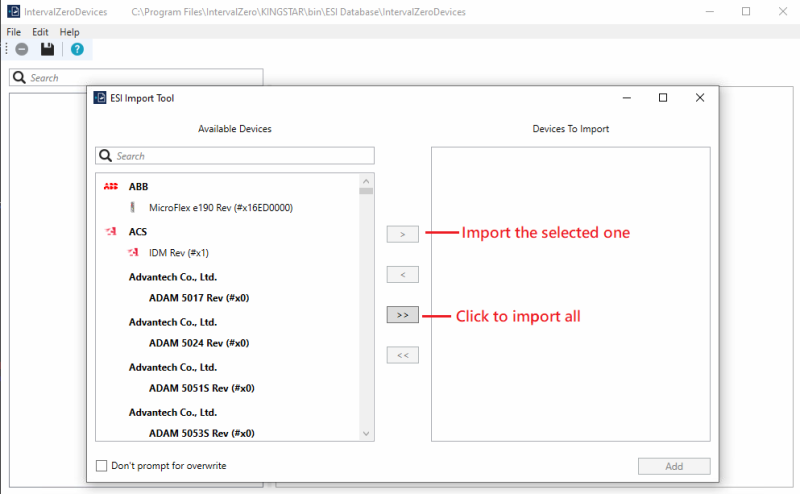
To open the existing supported hardware profiles, click Open Default Devices Database. It will automatically open all the devices database stored in KINGSTAR. Choose all or the ones you want to import and click Add.
NOTE: if you select only specific devices to import and click "save", the unselected ones will be removed from this default devices database .
-
To open the database file you have previously created , click Open User Devices Database. It will automatically open your custom devices database. If there is no existing user database file yet, a dialogue will pop up asking if you want to create one. Click OK then a user devices database file will be automatically created. You can then add the ESI files here.

- To open the folder where you can see all the ESI files, click Open ESI Database. It will open the database folder for you to select which files to import. Find the .esidb file and select the ones you need in the pop-up window, then click Add.
-
- After the database is opened, you can click Add Devices from ESI to add external hardware profiles(.xml file) or click Add Devices from Database to add files from existing database based on your requirement.
- Once the hardware is added, select the device or modules on the Item list, and on the Properties tab you must set the default resolution and minimal cycle time under Custom KINGSTAR Settings accordingly. You can also change the Display Name if you wish to. Check and modify the rest of the Basic or Advanced Settings if necessary.
- Each tab provides the hardware profile read from the ESI file. Check and modify the rest of the profile if necessary. For more information about the tabs, see user interface.
- After you've done with the ESI file, on the File menu, click Save to save the custom ESI. (We suggest that any change should be done in User Devices Database, and avoid modifying anything in the Default Devices Database.)
- (Optional) If you want to deploy the ESI database in other devices, simply copy the folder and paste into the new devices' database folder.
NOTE: When KINGSTAR Runtime connects to the EtherCAT devices or modules, it first searches their ESI data in the User Devices Database. If nothing is found, it will then look for the data in the Default Devices Database. Hence, if the same device is found in both database files, the data in User Devices Database will be used.
NOTE: When a device is connected to the EtherCAT network, the auto-configuration process searches for the most compatible profile. This profile is selected based on the matching vendor ID and product code, and it has the closest revision number to the connected device. For example, if the device has a revision number of 7, but the compatible profiles available in the ESI database are revisions 3 and 6, the profile with revision 6 will be used.
Instead of using VendorId + ProductCode + RevisionNumber combinations, you can use VendorId + ProductCode + DisplayName configured in the ESI Import Tool to select a profile. To do this:
For RT/Win32: Use AddModuleConfiguration, set the Configuration parameter to the device’s display name in the ESI Import Tool, and set the ModuleId parameter to the length of the string passed in Configuration. For example: AddModuleConfiguration(0, strlen('Sanyodenki RS2'), configEsi, 'Sanyodenki RS2'). If the display name provided in AddModuleConfiguration is not found, KINGSTAR will return the errUnknownSlave error.
For .NET: Use the IApi.AddModuleConfiguration (EsiSetting) method and set the Configuration parameter to the device’s display name in the ESI Import Tool. If the display name from this method is not found, KINGSTAR will return the errUnknownSlave error.