Add a header and .cpp file
You need to add a header and a .cpp file to learn the code in a chapter. The following process will be repeated in the following chapters.
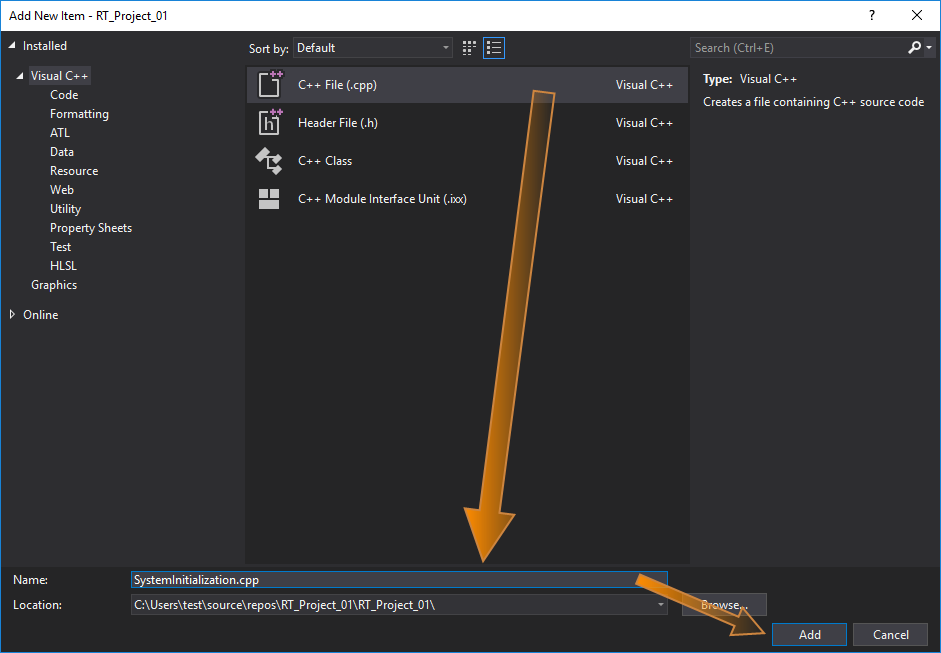
- In Solution Explorer, right-click Source Files and click Add > New Item.
- In the Add New Item dialog box, in the left pane, click Visual C++. In the middle pane, click C++ File. In the Name box, enter a meaningful name. In this guide, we use "SystemInitialization.cpp" as our file name. When you're done, click Add.
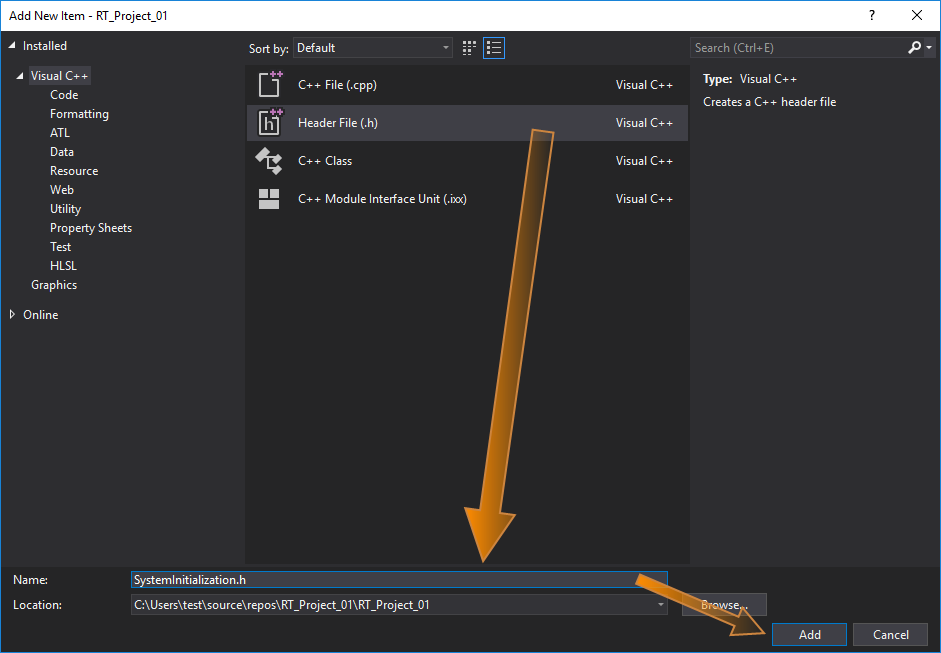
- In Solution Explorer, right-click Header Files and click Add > New Item. In the Add New Item dialog box, in the left pane, click Visual C++. In the middle pane, click Header File. In the Name box, enter a meaningful name. In this guide, we use "SystemInitialization.h" as our file name. When you're done, click Add.
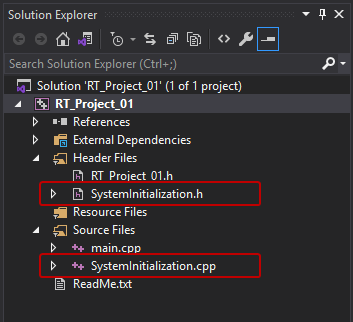
- In Solution Explorer, the files are added.