Manually associate an NIC
To manually associate a network interface card (NIC) with KINGSTAR, complete the steps that follow:
- On the taskbar, click Start
 > RTX64 4.5 Runtime > RTX64 Control Panel.
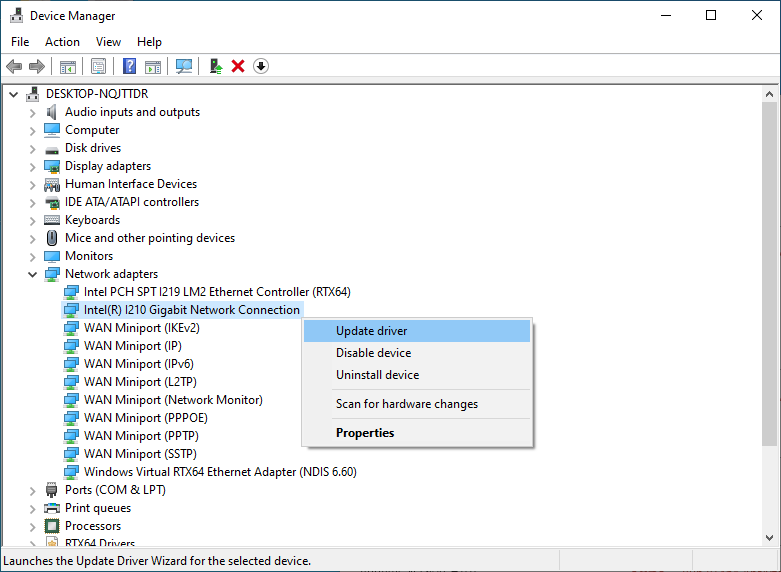
 - In RTX64 Control Panel, under Subsystem, click Manage RTX64 devices to launch Device Manager.
- In Device Manager, expand Network adapters, right-click the network card you want to associate with KINGSTAR, and then click Update driver. The card must be supported by both RTX64 and KINGSTAR.
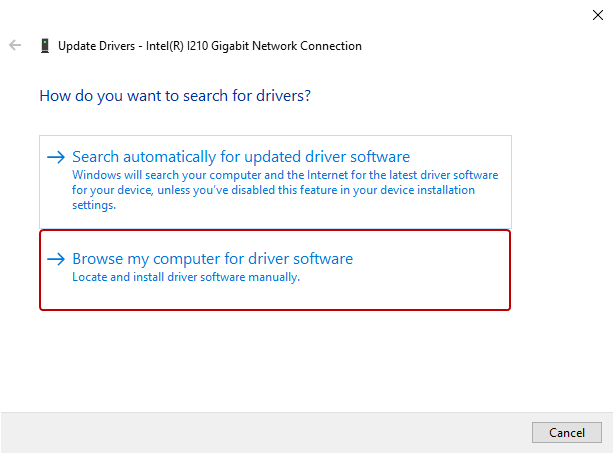
- On the Update Drivers page, click Browse my computer for driver software.
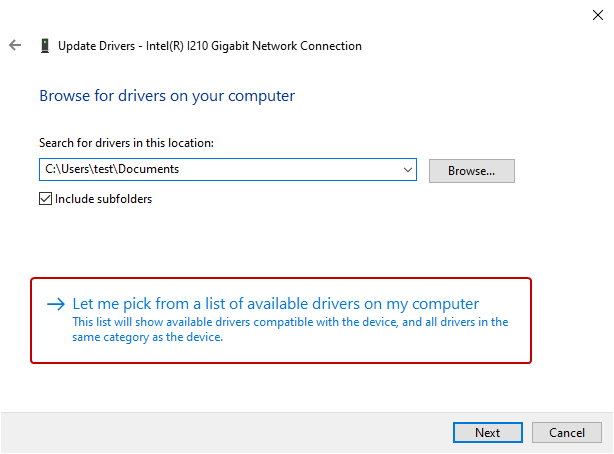
- Click Let me pick from a list of available drivers on my computer.
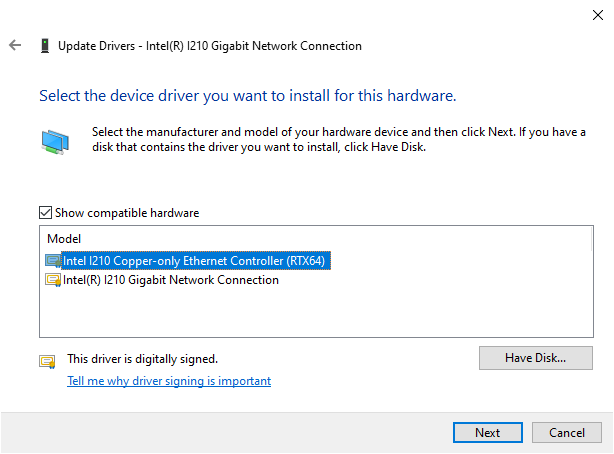
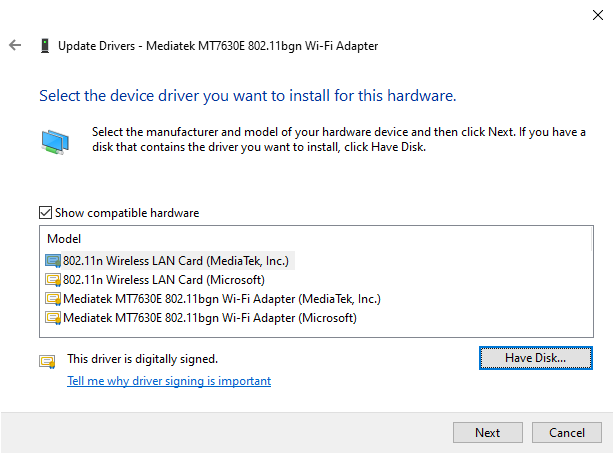
- In the list of cards, do one of the following:
- If your network cards shows in the list, select the card that includes RTX64 in the name, and then click Next.
- If your network card does not show up in the list, click Have Disk.
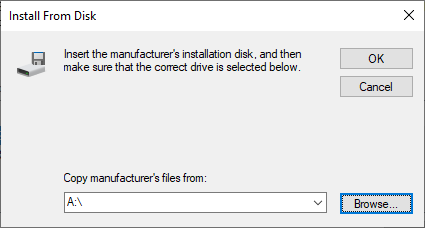
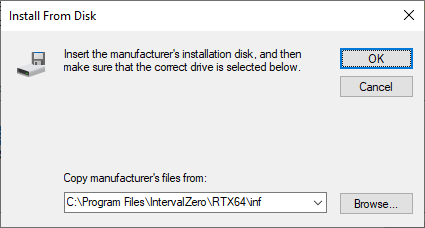
- In the Install From Disk dialog box, click Browse and navigate to the RTX64 inf location C:\Program Files\IntervalZero\RTX64\inf if you installed RTX64 at the default location.
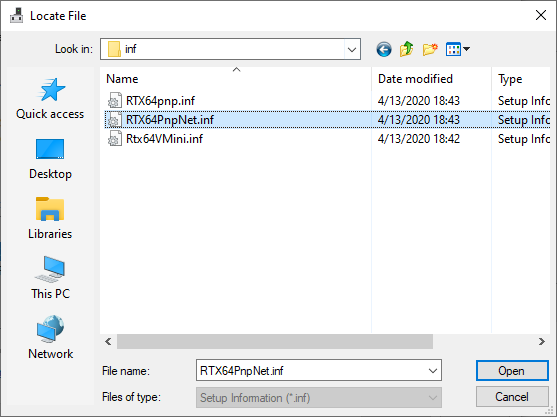
- In the Locate File dialog box, select
RTX64PnpNet.infand click Open. - In the Install From Disk dialog box, click OK.
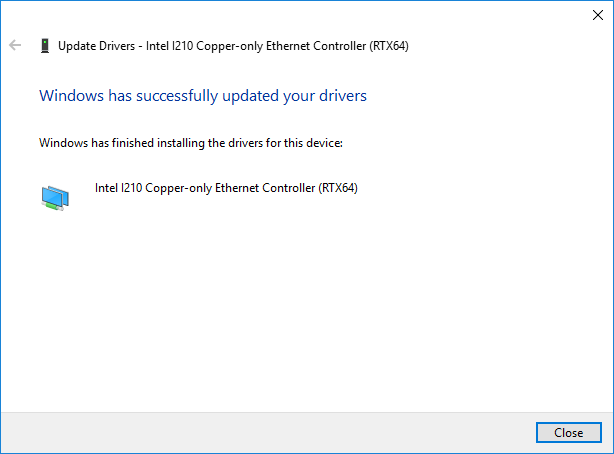
- The RTX64 driver installs for the network card. Click Close after the installation is completed. The network card is now controlled by the RTX64 Subsystem.
- Do one of the following to assign the card to KINGSTAR:
- Go to KINGSTAR Control Panel > Runtime Settings > Network Interface Cards. Assign the RTX64 controlled card to KINGSTAR.
- Add a driver to use the network card. See Manually add a driver.

We suggest you use KINGSTAR Control Panel because it provides a friendly interface for you to do it by one click. If KINGSTAR Control Panel doesn't work, you need to add the driver through a few steps.